
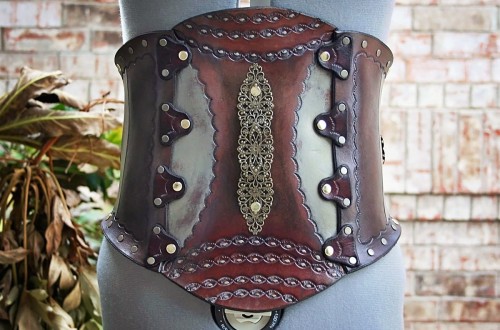
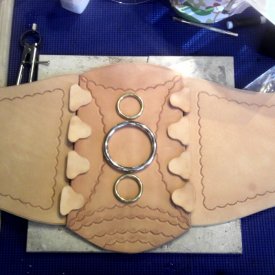
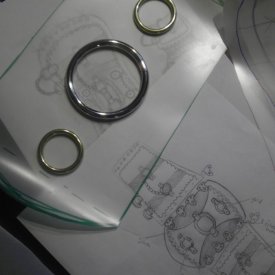
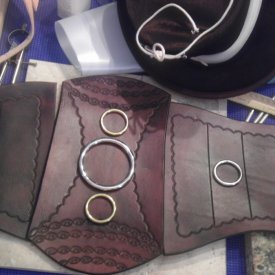
We are always brainstorming about fun new things to make. Things like costume pieces, or things to accessorize costume pieces 🙂 In this particular endeavor, I had it in my head that I was going to attempt my first corset. I had done extensive research about patterns, types, and had seen a variety of designs in the process. It was my decision to go with a Wasp style corset that consisted of three main pieces. I actually drew out several times how I would tool, paint, stain, and embellish the corset, but it wasn’t until I had a happy accident that I stumbled upon a new “rustic” acrylic accenting technique that I fell in love.
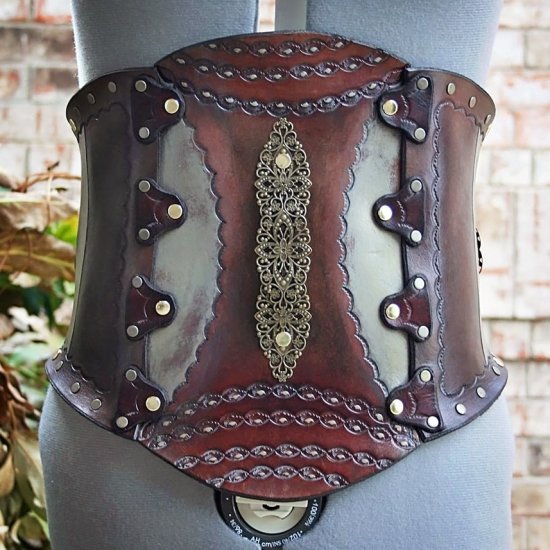
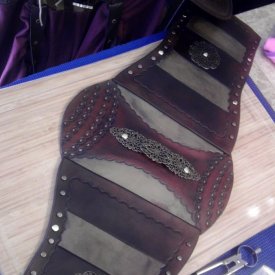
With that keystone in place, the ideas just started to flood in. The corset was stained in a gorgeous dark mahogany, and accented with a bone colored acrylic. We opted for antique gold rivets, and eyelets, but the ornate antique brass filigree décor is what really made it pop in the end.
After everything had been set and assembled, we had to wet form it. Yes, this was backwards and very risky (as the colors would be put in danger). However, when you are learning how to do things, you also learn to take risks to fix your mistakes. I mean, the alternative is scrapping a large investment 🙂 NO THANK YOU! As the ol’ Tim Gunn from Project Runway would say, “Make it work!” Well, we did!
Make it Work! – Tim Gunn
This corset has become my muse. Would I have done things differently in hindsight? Definitely! But that’s part of the journey.
Comments